Someone asked me how to install and configure WSL, so here is the whole thing in one place: what it is, how to install it three different ways, how to set up your user properly, how to move between the Windows and Linux worlds, and a few advanced tricks that make it genuinely useful day to day.
What Is WSL (and Which Version Do You Want)
WSL — Windows Subsystem for Linux — lets you run a real Linux environment directly on Windows, no dual boot, no virtual machine window to manage. You get a bash shell, Linux tools, and your files, all integrated with Windows.
There are two versions. WSL 1 translates Linux system calls into Windows ones. WSL 2 runs a real Linux kernel in a lightweight VM. You want WSL 2 — it is faster, fully compatible with things like Docker, and it is the default on any recent install. Everything below assumes WSL 2. If you are on Windows 10, make sure you are on version 2004 or later (build 19041+); on Windows 11 it just works.
Install WSL Three Ways
Option 1: Microsoft Store
Open the Microsoft Store, search for “Windows Subsystem for Linux”, and install it. This gives you the Store version of WSL, which updates independently of Windows Update — you get new features faster.
Option 2: winget
If you prefer the command line, one command does it:
winget install --id Microsoft.WSL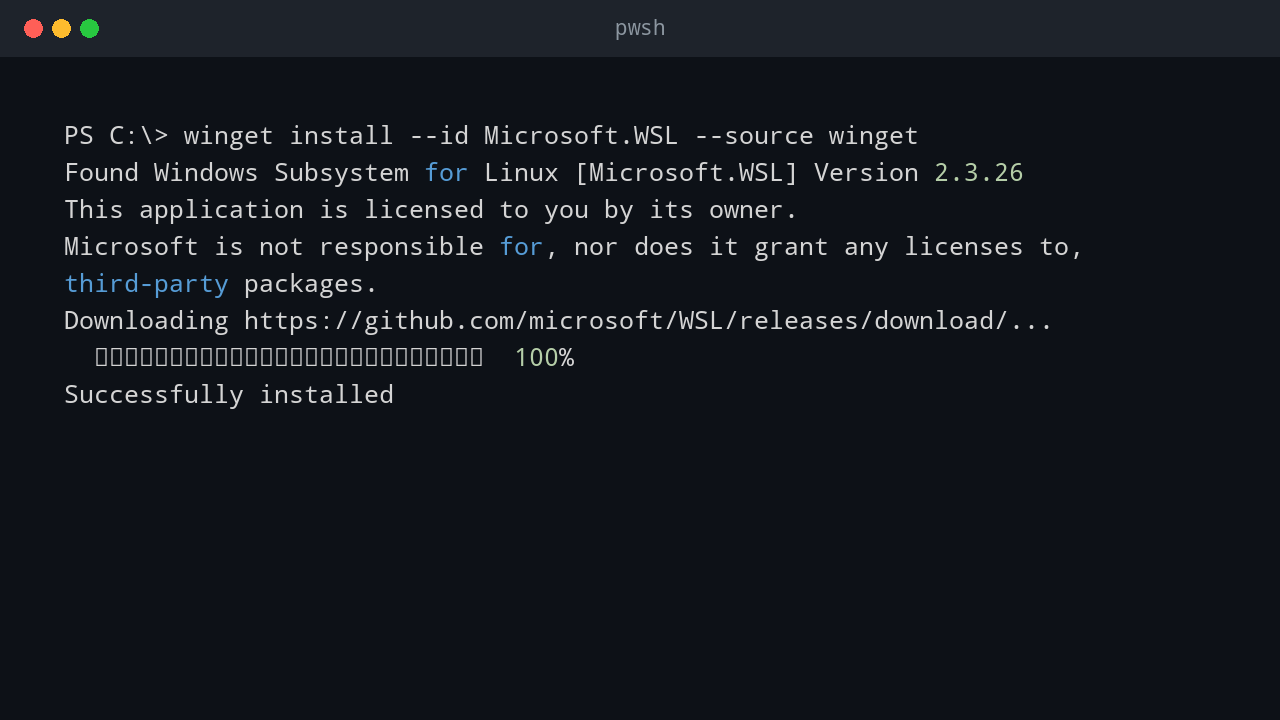
Option 3: When the Store Is Not Available
Corporate machines often block the Microsoft Store. In that case, force winget to use its own repository instead of the Store as the source:
winget install --id Microsoft.WSL --source wingetThe --source winget flag bypasses the Store entirely. This is the one to remember — it is the difference between “WSL can’t be installed here” and a working Linux environment on a locked-down machine.
After installation, reboot if prompted, then install a Linux distribution. Ubuntu is the default and the safest choice for a first-timer:
wsl --install -d UbuntuOr grab a specific version from the Store (Ubuntu 24.04, Debian, etc.). Verify everything afterward:
wsl --list --verboseYou should see your distro with VERSION 2.
First Run: Create Your Linux User
The first time you launch Ubuntu (from the Start menu or with wsl), it asks you to create a Unix username and password. This is your Linux user — it has nothing to do with your Windows account.
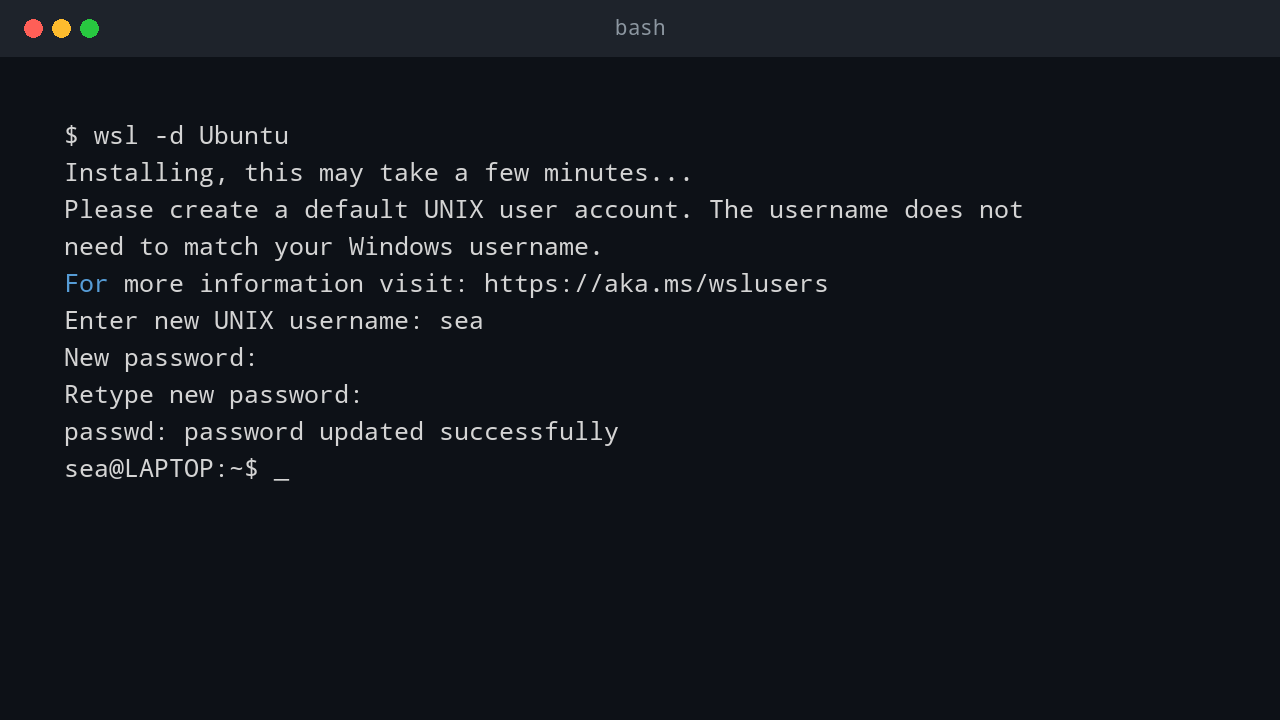
Pick a simple lowercase username. The password is for sudo — you will type it whenever you do something administrative. Do not skip this thinking you will set it later; a WSL instance without a configured user is a minor annoyance every time you open it.
If you ever need to change the password later:
passwdSet a Root Password
Ubuntu in WSL ships with the root account locked — there is no root password, and you are expected to use sudo from your own user. That is fine for daily use. But some scripts and tools expect to su to root directly. To set a root password:
sudo passwd rootType your own password first (for sudo), then set the new root password twice. Now su - works. Keep this password in a safe place — if you forget it, you can reset it from Windows with wsl -u root passwd without knowing the old one, which is convenient but also a reminder that WSL root is not a security boundary against the Windows admin.
Passwordless sudo for Your User
Typing your password for every sudo gets old fast, especially when you are running long setup scripts. To allow your user to sudo without a password:
echo "$USER ALL=(ALL) NOPASSWD:ALL" | sudo tee /etc/sudoers.d/$USER
sudo chmod 440 /etc/sudoers.d/$USER
The chmod 440 matters — sudo refuses to read sudoers files with loose permissions, and it will tell you about it in a confusing way. Verify with sudo -l; you should see (ALL) NOPASSWD: ALL.
A note on tradeoffs: passwordless sudo is convenient but it means any process running as your user can become root without a prompt. On a personal dev machine, that is an accepted tradeoff. On a shared or sensitive machine, keep the password.
Everyday Linux Commands
If Linux is new to you, here is the survival kit. These cover 90% of daily terminal work:
pwd                  # where am I
ls -la               # list files, including hidden ones
cd /mnt/c            # change directory (this one goes to your C: drive)
mkdir projects       # create a directory
touch notes.txt      # create an empty file
cat notes.txt        # print a file
cp a.txt b.txt       # copy
mv a.txt b.txt       # move / rename
rm file.txt          # delete a file
rm -r dirname        # delete a directory and everything in it
grep -r "text" .     # search file contents
ps aux | grep ssh    # find running processes
df -h                # disk space
free -h              # memory
history | grep apt   # what did I run before
Two habits that will save you: use Tab to autocomplete paths, and use the up arrow to recall previous commands. man <command> shows the manual when you want to go deeper.
Reach Into WSL From Windows
WSL is not a sealed box. From PowerShell or cmd:
wsl                        # drop into your default distro
wsl -d Ubuntu              # pick a specific distro
wsl -u root                # enter as a different user
wsl ls -la ~               # run one Linux command and return
wsl --shutdown             # shut down all WSL VMs (fixes many weird states)
Your Linux files are visible in File Explorer at:
\\wsl$\Ubuntu\home\yournameType that into the Explorer address bar. You can drag files in and out. One warning: do not create or edit Linux files under \\wsl$ with tools that do not understand Linux permissions — stick to reading, or copying files in and out. Editing project files from Windows is fine; editing system files is asking for trouble.
Reach Into Windows From WSL
It goes the other way too. Your Windows drives are mounted automatically:
ls /mnt/c                  # your C: drive
ls /mnt/d                  # D: drive, if you have one
cd /mnt/c/Users/YourName/Documents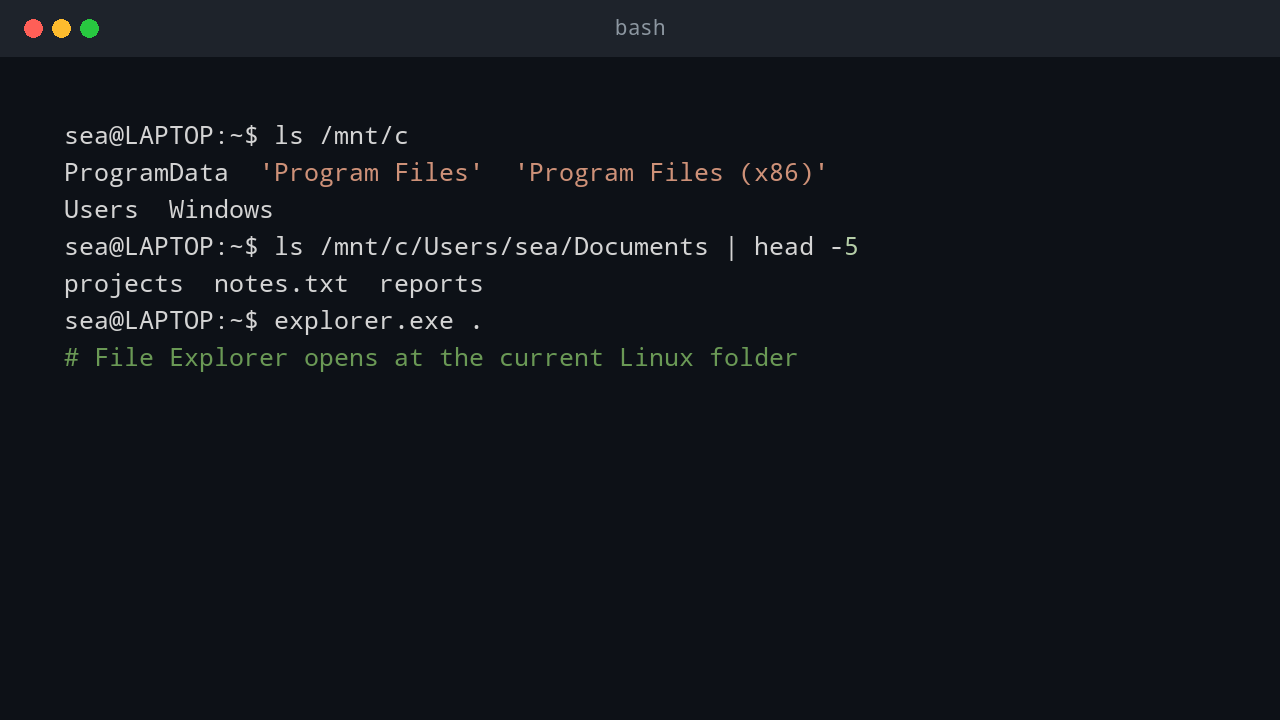
And you can launch Windows programs from the Linux shell — just add .exe:
notepad.exe notes.txt       # open a file in Notepad
explorer.exe .              # open current folder in File Explorer
powershell.exe -Command "Get-Date"
explorer.exe . is the one I use most — it opens a File Explorer window at whatever Linux directory I am standing in. Path conversion between the two worlds is handled by wslpath:
wslpath -w /home/sea/projects     # Linux path -> Windows path
wslpath -u 'C:\Users\sea\Documents'  # Windows path -> Linux path
Install Software With apt
Ubuntu in WSL uses apt for packages. The ritual is always the same:
sudo apt update && sudo apt upgrade -y
sudo apt install -y git curl wget vim htop tree
update refreshes the package list, upgrade installs newer versions of what you have, install adds new things. If a command is not found, your first instinct should be sudo apt install — the tool you want is probably one package away.
Run a Web Server in WSL, Open It in Windows
This is where WSL 2’s integration shines. Start a web server in Linux:
cd ~/projects/my-site
python3 -m http.server 8000
Now open http://localhost:8000 in your Windows browser. It just works — WSL 2 forwards localhost automatically. No firewall rules, no IP hunting.
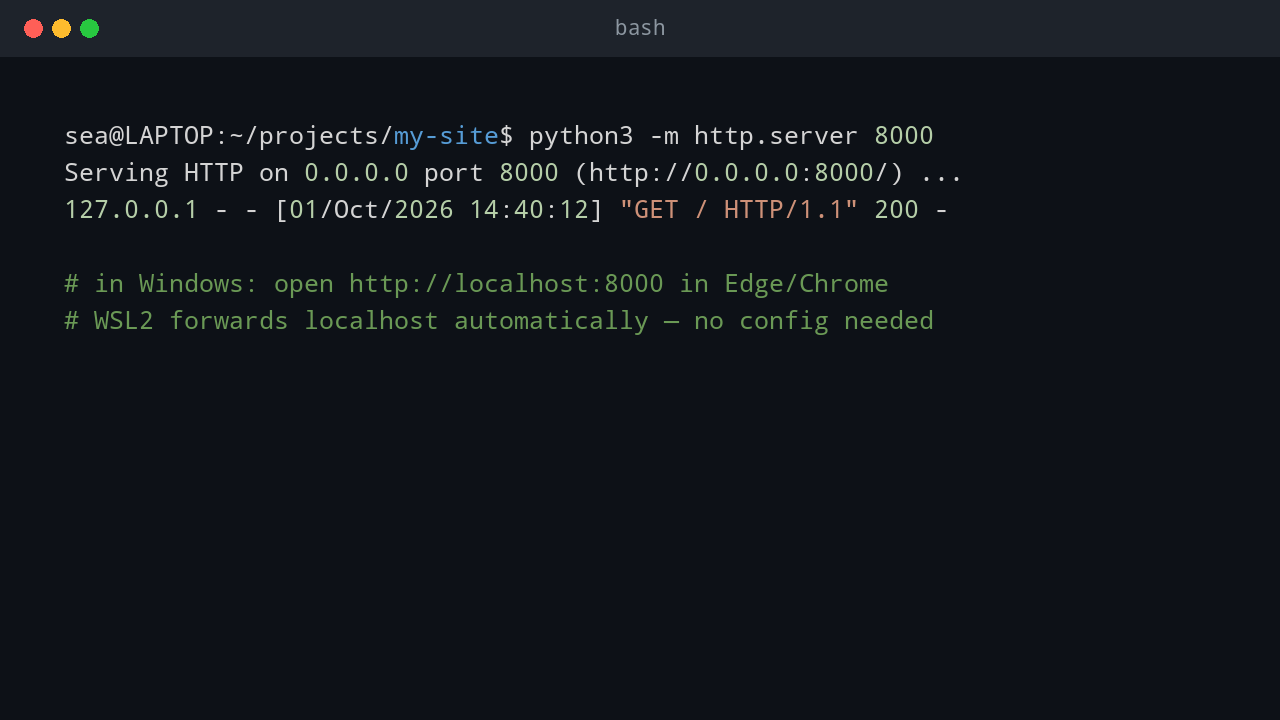
This works for Node (npm start), .NET (dotnet run), or anything else that binds to localhost. If you bind to a specific port like 3000 or 5000, use that port in the browser URL. The one gotcha: if your server binds to 127.0.0.1 only inside WSL, localhost forwarding still handles it. If it binds to a specific WSL-internal IP, use localhost anyway — do not chase the WSL VM’s IP address, it changes.
Install PowerShell Inside WSL
PowerShell is cross-platform, and running it inside WSL gives you the best of both: Linux tools plus the shell you already know from Windows. Install it from Microsoft’s repository:
# Add Microsoft's package repository
wget -q https://packages.microsoft.com/config/ubuntu/24.04/packages-microsoft-prod.deb
sudo dpkg -i packages-microsoft-prod.deb
sudo apt update
sudo apt install -y powershell
pwsh --version
Now pwsh drops you into PowerShell on Linux. Your profiles and modules live under ~/.config/powershell. A neat trick: from pwsh in WSL you can still call Windows executables (notepad.exe), and from Windows PowerShell you can call into WSL (wsl pwsh -c "Get-Date"). Pick whichever direction is shorter for the task.
VS Code and WSL: Two Directions
There are two ways to combine VS Code with WSL, and you will use both.
From inside WSL: cd to your project in the WSL terminal and run:
code .The first run installs VS Code Server inside WSL. After that, VS Code opens with your Linux files, Linux terminal, and Linux-installed extensions. The bottom-left corner shows WSL: Ubuntu — that is how you know you are editing in Linux, not Windows.
From Windows: install the “WSL” extension by Microsoft, then Ctrl+Shift+P → “WSL: Connect to WSL”. Same result, different starting point.
The rule of thumb: keep your project files on one side. If the project runs on Linux (Node, Python, Go), keep the files in WSL (~/projects) and connect VS Code to WSL. If it runs on Windows (.NET Framework, MSBuild), keep files on Windows. Mixing — Windows VS Code editing \\wsl$ files for a Linux-run project — works but is slower and causes the occasional file-watching headache.
That is the full loop: install it three ways, set up your user, learn the dozen commands that matter, move freely between Windows and Linux, and then let VS Code and localhost do the heavy lifting. If something breaks later — a failed update, a distro upgrade — those are separate stories for separate days.
💬 Comments