Sometimes I need to keep an exact copy of a bootable USB drive: a vendor recovery stick, a custom Windows installer, or a Linux live USB that took time to prepare. Copying the visible files is not enough because the bootloader and partition layout matter.
This post shows three ways to make that image: PowerShell with WSL, Win32DiskImager on Windows, and dd on Linux.
A warning from experience: I once nearly imaged the wrong disk. Two USB drives plugged in, both showing as “USB DISK” in Get-Disk, nearly identical sizes. I caught it because I always run Get-Disk twice — once before plugging in the target, once after — and compare. The extra 30 seconds has saved me from a very bad day at least twice. Disk numbers lie; the plug-unplug diff does not.
Up front
To back up a bootable USB, create a sector-by-sector image of the whole device instead of copying files from the drive letter. On Windows, identify the USB disk with Get-Disk, then use WSL and dd or a tool such as Win32DiskImager to read the physical disk into an image file. Always confirm the disk number first because choosing the wrong disk can overwrite or expose the wrong device.
Why Create an ISO from a Bootable USB?
A bootable USB is more than just a collection of files; it contains a specific structure that allows a computer to boot from it. This includes:
- A partition table (either MBR or GPT) that defines the layout of the drive.
- Boot sectors that contain the initial code to start the boot process.
- One or more partitions formatted with a specific file system (e.g., FAT32, NTFS, or exFAT).
When I clone the device into an ISO or IMG file, I am creating a sector-by-sector image of the entire drive. This preserves the complete boot structure, ensuring that the backup can be restored to another USB drive and remain bootable.
Method 1: Using PowerShell with WSL (Recommended for Power Users)
For users comfortable with the command line, using the Windows Subsystem for Linux (WSL) provides access to the powerful dd utility, a standard tool for creating raw disk images on Linux. This method is fast, scriptable, and requires no third-party software.
Step 1: Identify My USB Drive in PowerShell
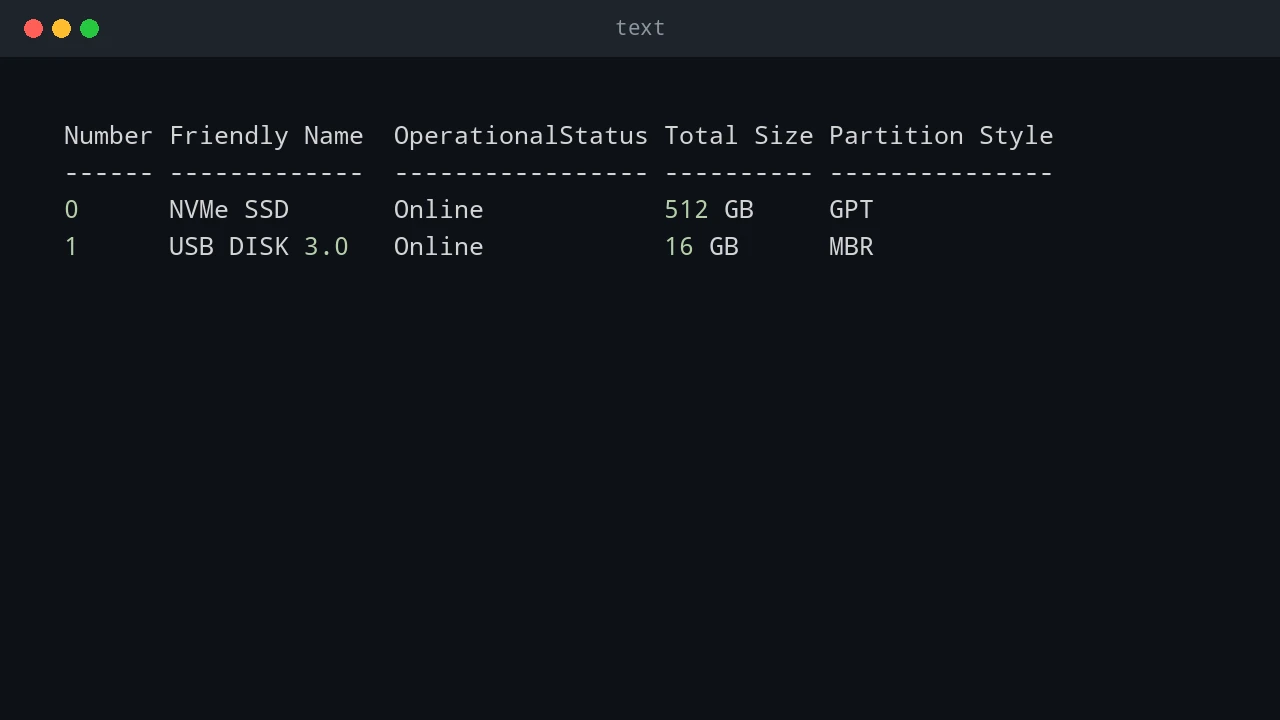
First, I needed to identify the disk number of my USB drive. I opened PowerShell as an Administrator and ran:
Get-DiskI looked for my USB drive in the output and noted its Number.
Number Friendly Name  OperationalStatus Total Size Partition Style
------ -------------  ----------------- ---------- ---------------
0      NVMe SSD       Online            512 GB     GPT
1      USB DISK 3.0   Online            16 GB      MBR
In this example, the USB drive is Disk 1.
Step 2: Identify the Device in WSL
Next, I opened my WSL terminal (e.g., Ubuntu) and listed the available block devices to find the corresponding Linux device path.
sudo fdisk -lI saw output similar to this, where /dev/sdb corresponded to my USB drive.
Disk /dev/sda: 512 GiB, 549755813888 bytes, 1073741824 sectors
...
Disk /dev/sdb: 14.9 GiB, 16008609792 bytes, 31266816 sectors
...
Warning: I made absolutely sure I identified the correct device. Using the wrong device name in the next step can lead to data loss.
Step 3: Clone the USB to an ISO File
Now, from my PowerShell terminal, I used wsl to execute the dd command. This command read from the USB device (/dev/sdb) and wrote to an ISO file on my Windows file system.
wsl sudo dd if=/dev/sdb of=/mnt/c/Users/$env:USERNAME/usb_backup.iso bs=4M status=progressCommand Explanation:
wsl sudo dd: Executes theddcommand with administrative privileges inside WSL.if=/dev/sdb: Specifies the input file (my source USB drive).of=/mnt/c/...: Specifies the output file path./mnt/c/is how WSL accesses my C: drive.bs=4M: Sets the block size to 4MB for faster copying.status=progress: Shows the live progress of the copy operation.
When the command completed, I had a bootable usb_backup.iso file in my user directory.
Step 4: Restore the ISO to a USB (When Needed)
I could later use the same dd command to write the ISO image back to a new USB drive.
wsl sudo dd if=/mnt/c/Users/$env:USERNAME/usb_backup.iso of=/dev/sdb bs=4M status=progress
wsl sync
Method 2: Using a GUI Tool (Win32DiskImager)
If I preferred a graphical interface, Win32DiskImager is a popular, free, and open-source tool that makes disk imaging simple and safe.
Step 1: Download and Install
- Download Win32DiskImager from the official SourceForge repository.
- Install the application and run it as an Administrator.
Step 2: Read the USB to an Image File
- Device: I selected my USB drive from the dropdown list (e.g.,
[E:\]). Be extremely careful to select the correct drive. - Image File: I clicked the folder icon and chose a location and filename for my backup (e.g.,
C:\Users\YourUser\Desktop\usb_backup.img). Win32DiskImager uses the.imgextension by default, which is functionally identical to.isofor raw disk images. - Read: I clicked the Read button. This copied the entire USB drive, sector by sector, into the image file I specified.
To Restore: I could later use the Write button to restore this image file to the same or a different USB drive.
Method 3: Using Linux Directly
If I was working on a Linux machine, the process was even more straightforward.
Step 1: Identify the Device
I used lsblk or fdisk to identify my USB device path (e.g., /dev/sdb).
sudo fdisk -lStep 2: Clone to ISO
I used the dd command to create the image.
sudo dd if=/dev/sdb of=~/usb_backup.iso bs=4M status=progress
sync
The sync command ensures that all write caches are flushed to the disk.
Which Method Should I Choose?
| Method | Best For | Pros | Cons |
|---|---|---|---|
| PowerShell + WSL | Power users, automation, scripting | No third-party tools needed, fast, scriptable | Requires WSL and command-line knowledge |
| Win32DiskImager (GUI) | Beginners, users who prefer a graphical interface | Safe and easy to use, clear UI | Requires downloading and installing a third-party tool |
Linux dd |
Native Linux users | The standard and most direct method on Linux | Requires a Linux environment |
Conclusion
Cloning a bootable USB drive is a simple process once I had the right tools.
- For Windows power users, combining PowerShell and WSL offers a fast, native, and scriptable solution without needing to install any third-party software.
- For those who prefer a safer, graphical approach, Win32DiskImager is an excellent and reliable choice.
- For Linux users, the native
ddcommand remains the gold standard.
Verification and Safety Checks
Before relying on the ISO or raw image, verify that the file size is close to the size of the source USB device. A much smaller file usually means the copy targeted a partition instead of the full disk, or the command stopped early.
For important recovery media, keep the original USB until you have tested the image. The safest validation is to write the image to a spare USB drive and confirm that the target machine can boot from it. If the image is for firmware recovery, operating system deployment, or a vendor diagnostic tool, test it on hardware that matches the intended environment.
Be careful with disk numbers. The most serious mistake in this workflow is writing to or reading from the wrong disk. Before running dd, compare disk size, removable status, and device name. If possible, unplug external drives that are not part of the operation. Reducing the number of visible disks reduces the chance of selecting the wrong target.
Store the finished image with a clear filename that includes the source, purpose, and date. For example, vendor-recovery-usb-2025-11-02.img is easier to identify later than usb-backup.img. If the image is critical, generate a hash and save it next to the file so you can detect corruption before restoring it.
By creating a full disk image, I could ensure that I always had a perfect, bootable copy of my important USB drives.
💬 Comments