Installing pwsh, the modern cross-platform PowerShell, is a straightforward process. This guide will walk you through three key methods to get PowerShell up and running on your Windows machine. The latest stable version is v7.5.3, at the writing of today.
1. Check Your Current PowerShell Version
Before installing a new version, it’s a good idea to see what version of PowerShell you’re currently running. Open your existing PowerShell terminal and enter the following command:
$PSVersionTable.PSVersion
This command will display the version of PowerShell that is currently installed.
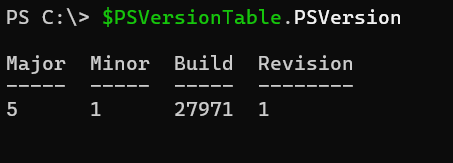
For Windows 10 or 11, the default powershell version installed is V5.1.
2. Install with winget
The easiest way to install PowerShell on Windows is by using the winget command-line tool. winget is the Windows Package Manager, and it simplifies the process of discovering, installing, and upgrading applications.
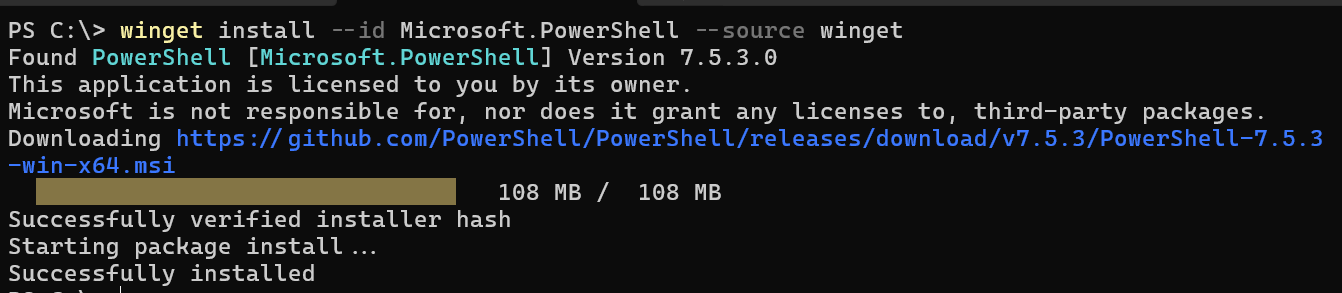
To install PowerShell using winget, open a Command Prompt or PowerShell terminal and run the following command:
winget install --id Microsoft.PowerShell --source winget
This command will download and install the latest stable version of PowerShell.
If winget is not found, follow
How to install winget to install it.
3. Download from GitHub
If you prefer to install PowerShell manually, you can download the installer directly from the official PowerShell GitHub repository.
- Go to the PowerShell GitHub releases page.
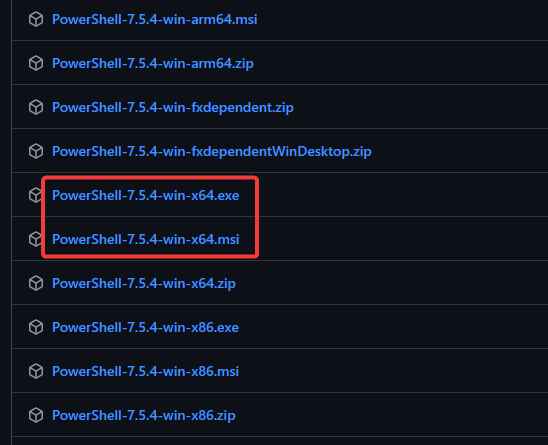
- Find the latest stable release (e.g., v7.5.4). In above winget installation, it installed v7.5.3, as the latest version is not updated in winget store.
- In the “Assets” section, download the
.msi, or.exeinstaller for your system (e.g.,PowerShell-7.5.4-win-x64.msi). - Run the installer and follow the on-screen instructions.
- Start
pwsh, and check it’s version again.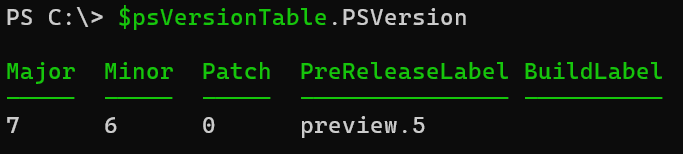
Here is the preview version, use below command to install preview version.
winget install --id Microsoft.PowerShell.Preview --source winget